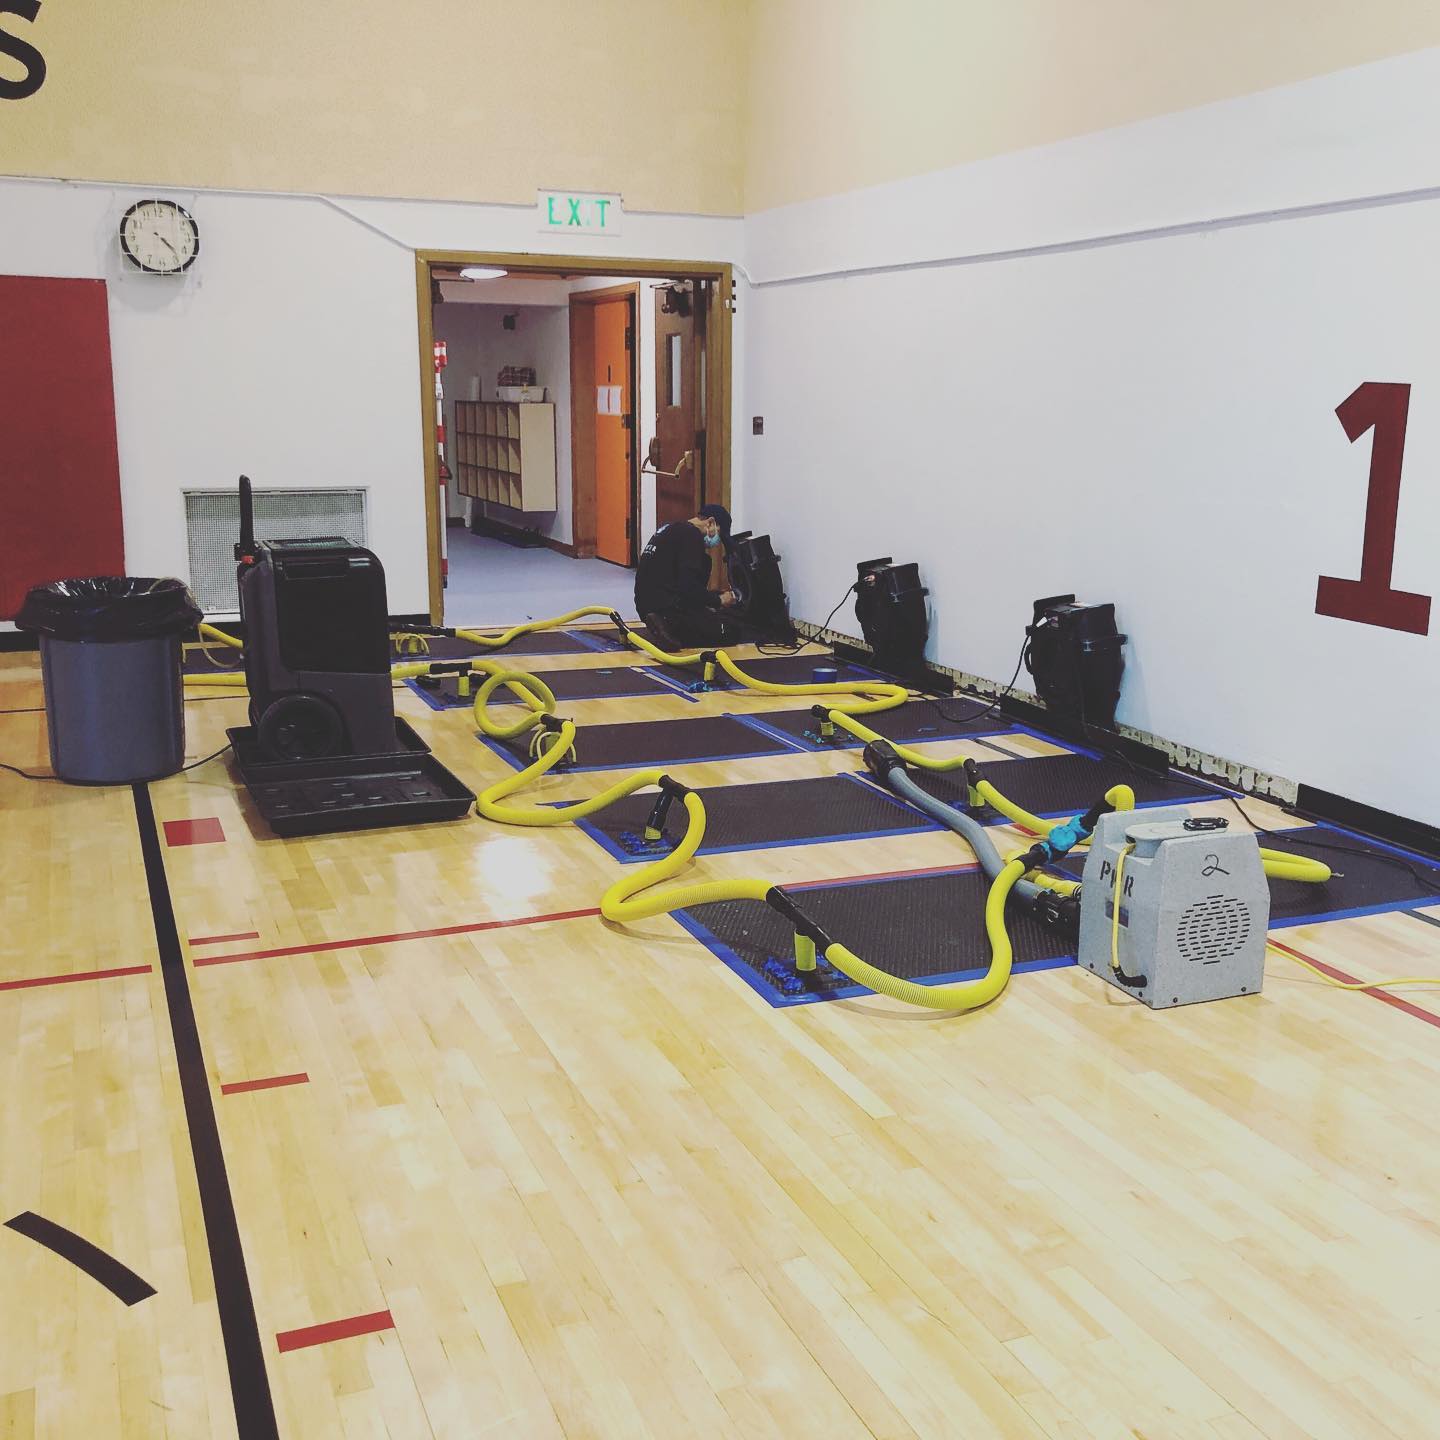
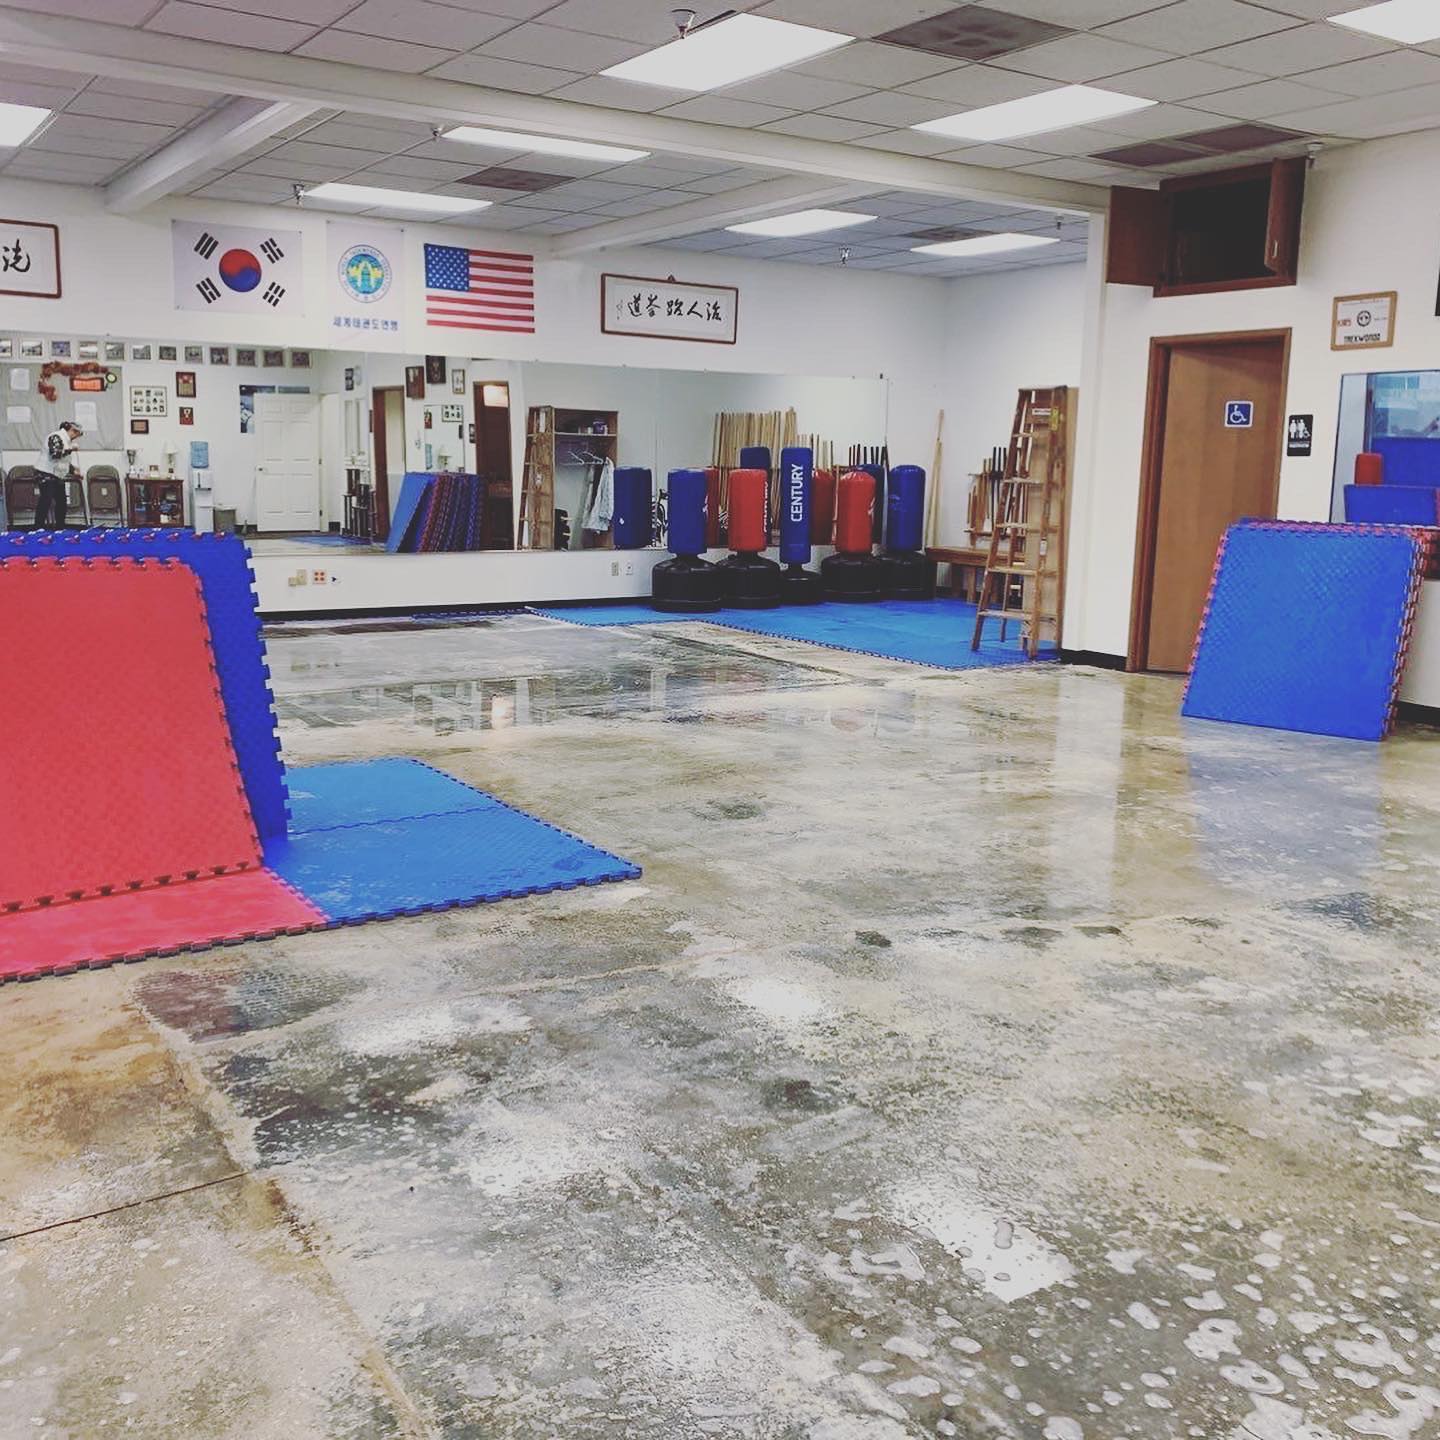
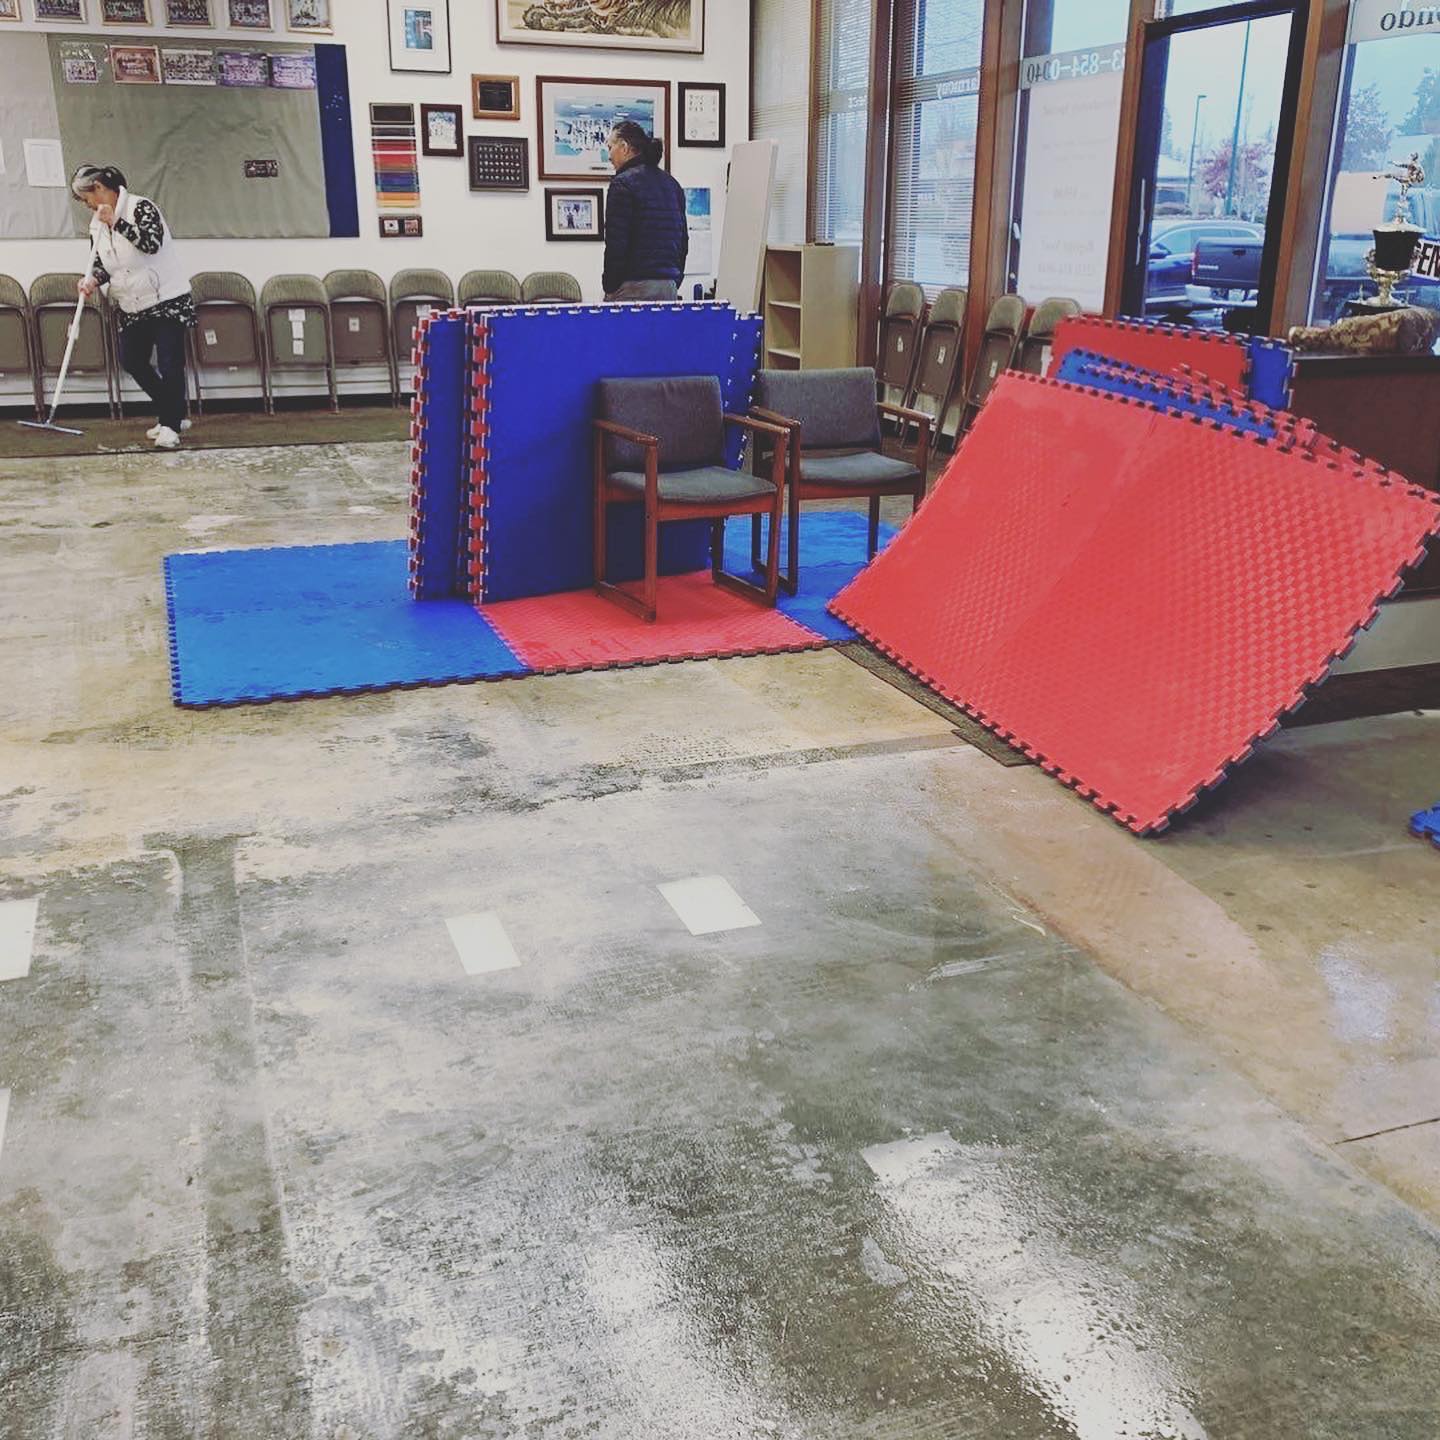
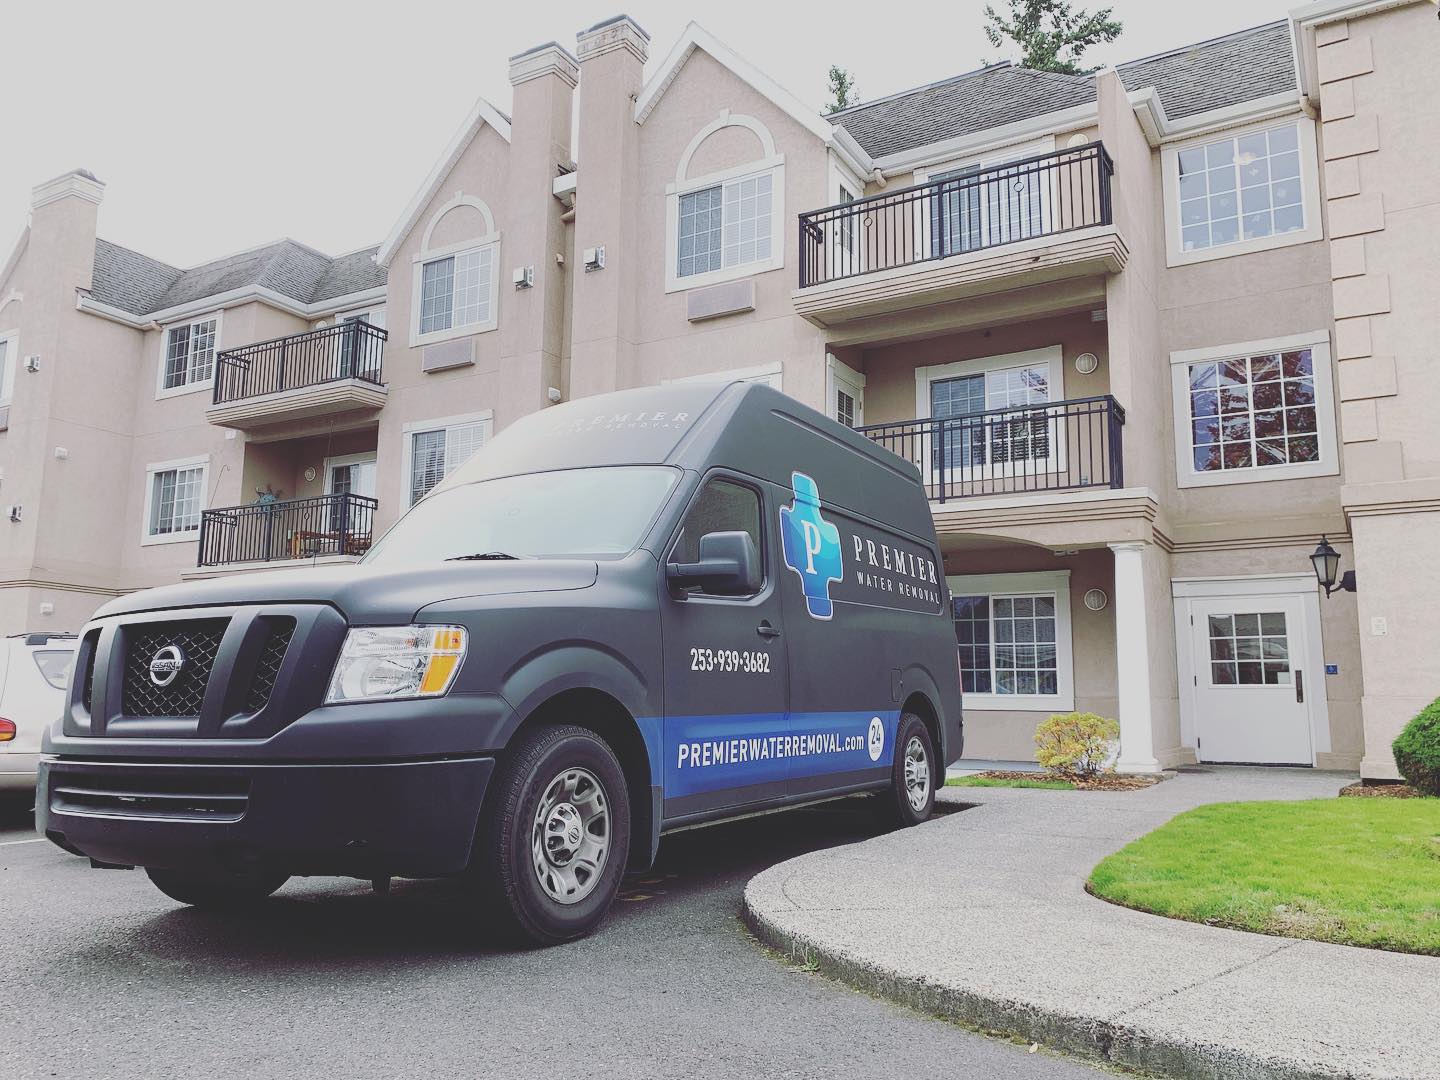
Buckled Ceiling From Water Damage

Services To Help With Buckled Ceiling Water Damage

Fixing Water Damaged Ceiling: Expert Tips & Solutions

155 Feb 24 2023 21 03 08 QSgq scaled By following these steps diligently, you can fix your buckled ceiling from water damage effectively. Remember that safety should always be prioritized when dealing with sagging ceilings, so don't hesitate to seek professional help if needed.

Water damage can cause damage to your ceilings, causing a range of issues. One problem that homeowners could face is buckled or bubbled ceilings from water damage. It’s a scary and unsightly situation to deal with, but understanding the causes and signs of water damage is crucial for effective repairs.

Imagine this scenario: you notice a small stain or bubble on your ceiling that keeps growing over time. It starts off as just a minor issue but over time grows and presents itself as a health hazard, as well as it could be the result of moisture seeping in from an initial leak. If the water damage is left unaddressed, this moisture can weaken the structural integrity of your ceiling, leading to buckling and sagging.

Identifying the signs of water damage early on is essential. Whether it’s a small hole, discoloration, bubbling or sagging on your ceiling, these indicators shouldn’t be ignored.

Causes and Signs of Ceiling Water Damage

Leaking roofs or pipes are common culprits for ceiling water damage. These issues can lead to significant problems if left unaddressed. Here are some signs that indicate your ceiling may have suffered water damage:

  • Visible stains: Look out for discolored patches or circles on the ceiling, which often indicate water infiltration. These stains can range from light yellow to dark brown, depending on the severity of the damage.
  • Sagging or drooping: A buckled ceiling is a clear sign of water damage. If you notice any areas where the ceiling appears to be sagging or drooping, it’s likely that moisture has caused structural weakening.
  • Discoloration: Water-damaged ceilings often exhibit discoloration, appearing darker than unaffected areas. This change in color can be a result of prolonged exposure to moisture and subsequent mold growth. This can sometimes be seen as a darker white color or any of the colors mentioned above. 
 

In addition to these visual cues, there are other indicators that point towards ceiling water damage:

  • Microbial Growth: Moisture and Temperature provide an ideal environment for mold to thrive. If you detect musty odors or notice any visible microbial staining or growth on your ceiling, it’s highly probable that water has infiltrated the area.
 

By being vigilant and recognizing these signs, you can take prompt action to address any potential issues with your ceiling before they worsen. Remember, early detection and timely repairs are crucial in preventing further and more costly damage and maintaining a safe living environment.

So, if you suspect any form of ceiling water damage—such as visible stains, sagging or drooping sections, discoloration, mold growth, or musty odors—it’s essential to promptly seek professional assistance for assessment and repairs. Don’t ignore these warning signs; act swiftly to protect your home from further harm.

How to Prevent Water Damage on Ceilings

Regularly inspect your roof for any leaks or damaged shingles.

Inspecting your roof regularly is crucial in preventing water damage to your ceilings. Look out for any signs of leaks or damaged shingles that could allow water to seep into your home. Here are a few things to keep in mind:

  • Check for missing or cracked shingles.
  • Look for signs of wear and tear, such as curling or blistering.
  • Pay attention to any dark spots or stains on the ceiling, as they may indicate a leak and inspect your attic regularly.

Ensure proper insulation in your attic to prevent condensation buildup.

Proper insulation in your attic plays a significant role in preventing condensation buildup, which can lead to water damage on your ceilings. Take these steps to ensure adequate insulation:

  1. Inspect the current insulation and replace it if necessary.
  2. Use vapor barriers to control moisture levels.
  3. Seal any gaps or cracks that may allow air and moisture infiltration.
  4. Manage proper efficiency of the ventilation within the attic, Western WA is known for poor attic/confined space ventilation. 

Install and maintain gutters and downspouts to direct water away from the house.

Having functional gutters and downspouts is essential for directing water away from your home’s foundation and preventing it from seeping into the ceilings. Follow these tips:

  • Clean your gutters regularly, removing leaves and debris that can cause blockages.
  • Ensure downspouts are properly positioned, directing water at least six feet away from the house.
  • Consider installing gutter guards to prevent clogs and minimize maintenance.
 

By following these preventive measures, you can significantly reduce the risk of buckled ceilings caused by water damage. Regular inspections, proper insulation, and well-maintained gutters are key steps towards keeping your ceilings dry and intact.

Step-by-Step Guide: Fixing a Sagging Ceiling from Water Damage

Start by identifying the source of the leak and fixing it promptly. Leaks can come from various places, such as a burst pipe or a roof leak. Once you’ve located the source, take immediate action to stop the water from causing further damage. (When Determining Source: Please be aware that any outside water that has come into contact with debris, materials, or organic substances is considered contaminated and unsafe for human consumption or immersion.)

Use supportive braces to stabilize the sagging area before making repairs. Sagging ceilings can be dangerous if left untreated, so it’s important to provide temporary support to prevent any potential accidents. Braces can be made using sturdy materials like wood or metal and should be placed strategically to reinforce the weakened ceiling.

Replace damaged drywall or plaster, ensuring a smooth finish with joint compound. After stabilizing the ceiling, it’s time to address the visible damage. Remove any wet or damaged sections of drywall or plaster and replace them with new materials. Make sure to cut out the affected area in a neat shape for easier patching.

Apply joint compound over the repaired areas and sand it down for a seamless finish. Joint compound is used to fill in gaps and create a smooth surface on repaired drywall or plaster. Apply multiple thin layers, allowing each layer to dry before adding another. You want the end result to be so smooth the transition is undetectable. Sand down any rough spots until you achieve a seamless result.

Paint over the repaired section to match your existing ceiling color. Once all repairs are complete and dried, it’s time for some finishing touches. Choose paint that matches your ceiling color and carefully apply it over the repaired section using a brush or roller.

By following these steps diligently, you can fix your buckled ceiling from water damage effectively. Remember that safety should always be prioritized when dealing with sagging ceilings, so don’t hesitate to seek professional help if needed.

Tips for Repairing Water-Damaged Ceilings

Before repainting your buckled ceiling from water damage, it’s important to take a few necessary steps to ensure a successful repair. Here are some helpful tips to guide you through the process:

  1. You must use a stain-blocking primer: To prevent discoloration from seeping through, apply a stain-blocking primer before repainting the affected area. This will create a barrier and help maintain the appearance of your ceiling.
  2. Consider fiberglass mesh tape: When patching cracks or holes in your water-damaged ceiling, consider using fiberglass mesh tape. This tape provides added strength and stability, ensuring that your repairs hold up over time.
  3. Opt for moisture-resistant materials: During the repair work, it’s crucial to choose moisture-resistant materials to prevent future damage. Mold-resistant drywall is an excellent option as it helps inhibit the growth of mold and mildew.
  4. Patch any cracks or holes: Carefully fill in any cracks or holes in your ceiling using a suitable patching compound. Smooth out the surface with sandpaper once it dries to achieve a seamless finish.
  5. Repaint with care: After completing the necessary repairs, it’s time to repaint your ceiling. Choose paint specifically formulated for ceilings and apply multiple thin coats for optimal coverage.
  6. Monitor for leaks: Keep an eye out for any signs of recurring leaks from your roof or plumbing system that may have caused the initial water damage. Fixing these issues promptly can prevent further damage down the line.
  7. Consider professional help: If you’re unsure about tackling extensive repairs or if the water damage is severe, it may be wise to consult with a professional contractor who specializes in ceiling repair. They can provide expert advice and ensure high-quality results.
 

Repairing water-damaged ceilings requires attention to detail and careful execution of each step involved in the process. By following these tips and utilizing appropriate materials, you can restore your ceiling to its former glory while preventing future issues. Remember, taking immediate action is key to minimizing repair costs and preserving the integrity of your home.

Addressing Discoloration and Stains on Water-Damaged Ceilings

Discoloration, water spots, stains, and mildew can be unsightly reminders of water damage on your ceiling. But fear not! There are steps you can take to address these issues and restore the beauty of your ceiling. Here’s what you need to do:

  1. Apply a bleach solution: To tackle mold stains caused by water damage, create a bleach solution by mixing one part bleach with three parts water. Apply this solution to the affected areas using a sponge or cloth. However, make sure there is proper ventilation during this process to avoid inhaling fumes. (Premier Best Practices: We utilize a specialized application process with a hydrogen peroxide based solution so it’s not as harsh on your home and the people in your home. This is a safer and just as effective way of treating microbial growth.
  2. Match paint colors accurately: It’s crucial to match the paint colors accurately. This will help achieve seamless blending with the rest of the ceiling. Take note of the existing color and consult a professional at your local hardware store for assistance in finding an exact match.
  3. Cover stubborn stains with primer: Some stubborn stains may still be visible even after applying bleach and cleaning solutions. In such cases, it’s essential to cover them with an appropriate primer before applying fresh paint coats. The primer acts as a base layer that helps prevent any remaining stains from bleeding through the new paint.

By following these steps, you can effectively address discoloration and stains caused by water damage on your ceiling. Remember to prioritize proper ventilation when working with bleach solutions and consult professionals if needed for accurate color matching and choosing suitable primers.

Now that you know how to tackle this issue head-on, say goodbye to those unsightly marks on your ceiling!

Taking Action against Water-Damaged Ceilings

Now that you understand the causes, signs, prevention methods, and steps to fix water-damaged ceilings, it’s time to take action. Don’t let a buckled ceiling from water damage bring down the aesthetics and safety of your home. Armed with this knowledge, you can confidently address any issues that arise.

To get started, assess the extent of the damage and determine if you’re comfortable tackling the repairs yourself or if it’s best to call in a professional. Remember to prioritize safety by wearing protective gear and ensuring the area is properly ventilated. Follow the step-by-step guide we provided earlier and utilize our tips for repairing water-damaged ceilings effectively.

Don’t delay addressing water damage on your ceiling. The longer you wait, the worse it can become. Take control of the situation today and restore your ceiling to its former glory!

FAQs about Water-Damaged Ceilings

Can I paint over a water-damaged ceiling?

Painting over a water-damaged ceiling without addressing the underlying issue is not recommended as it may lead to further problems. It’s crucial to identify and repair the source of water damage before considering any cosmetic fixes.

How long does it take for a sagging ceiling to dry out?

The drying time for a sagging ceiling depends on various factors such as humidity levels, ventilation, and extent of water damage. It typically takes several days or even weeks for a damp ceiling to completely dry out.

Is it necessary to replace an entire water-damaged ceiling?

Not necessarily. In some cases, localized repairs may be sufficient. However, extensive or recurring damage may require replacing larger sections or even the entire affected area.

Can I prevent future water damage on my ceilings?

Absolutely! Regularly inspecting your roof for leaks, maintaining proper ventilation in attics, bathrooms and kitchens, and promptly addressing any plumbing issues can significantly reduce the risk of water damage on your ceilings.

Should I hire a professional for ceiling repairs?

It depends on the severity of the damage and your comfort level with DIY projects. While minor repairs can often be done by homeowners, extensive or complex damage may require the expertise of a professional contractor to ensure a proper fix.

I think my roof is leaking, who do I call?

We are not professional roofers but we know one! True Blue Roofing is a great company who does VERY good work at competitive prices, this is who our brand partners with https://trueblueroofs.com/

If you’re dealing with a wet or filthy carpet in your home or business, 

don’t hesitate to contact Premier Water Removal.

Our Mold Remediation Gallery

Why Choose

Premier Water Removal in Auburn, WA

Our expert team is trained and experienced in dealing with all types of mold, and we use advanced equipment and techniques to effectively remove it from your home or business. We will work closely with you to assess the situation and determine the best course of action to take.

Years Experience
0 +
5-Star Ratings
0 +
Properties Served
0 +
Satisfaction Rate
0 %

Recent Mold Remediation Service Reviews

Juanita P.
Spanaway, WA
Read More
"Five stars from me! I had Josh, Juan, Juan's partner, Sabrina and every single one of them was so professional at all times! They did a great job, they communicated thru the whole entire process, they came when they said they would and ALWAYS called to say they are on their way! Sabrina stayed late one time to help out and she is just so professional! I will recommend premier"
Tricia R.
Seattle, WA
Read More
“We had a fantastic experience with Premier Water Removal. The office staff were friendly and helpful, and very communicative about arrival times for the next day's work. The workers were friendly, efficient, knowledgeable and communicative. We had a tricky situation where multiple companies had to come out in order to find the origin of a leak in our garage, so Premier was drying out the walls day after day until it was finally resolved. They came each day to check on the equipment and give us an update. Can't say enough great things about this company. Thank you all for your help!”
Elena B.
Issaquah, WA
Read More
"I needed some work done on a toilet and thought there was some mold possible under the floor surrounding it. Santos came out and turned out there was no mold (yay for me!) and when I asked how much I owed him he said nothing. He was polite, direct and precessional even when my toddler whined to be carried down the stairs. Santos didn't complain and held his little hand down the stairs. I'm grateful for the fast and thorough work and patience with my crazy kiddo. I'd use them again."
Swagata S.
Seattle, WA
Read More
"We had a great experience with santos and his team - victor, andrew , Kyle and anaisha . They were very thorough and took the time to answer every question we had. They kept us informed at every step and were sincere in their work. We would highly recommend them."
Jayme B.
Auburn, WA
Read More
“We had a minor hose leak from our washing machine that leaked to the floor below. The team at Premier Water Removal was fair, honest and reliable. An outstanding team from start to finish. They communicated and documented daily with me as the drying process took place. Highly recommend the entire team at Premier Water Removal.”
Zhenyu Z.
Bellevue, WA
Read More
“I was referred by a friend for water mitigation from this company. Indeed, their professionals were super impressive and they performed water mitigation with high quality and in a timely manner. I will definitely refer Premier Water Removal to anybody with the same issues!”
Patricia L.
North Bend, WA
Read More
"We had a fantastic experience with Premier Water Removal. The office staff were friendly and helpful, and very communicative about arrival times for the next day's work. The workers were friendly, efficient, knowledgeable and communicative. We had a tricky situation where multiple companies had to come out in order to find the origin of a leak in our garage, so Premier was drying out the walls day after day until it was finally resolved. They came each day to check on the equipment and give us an update. Can't say enough great things about this company. Thank you all for your help!"
Nytasha W.
Seattle, WA
Read More
"James came out to my house today to investigate water damage from a flooding toilet. His customer service was outstanding. He did a great job looking for damage and explaining to me what he was looking for when assessing the site and how to treat it. Very professional - I recommend this company."
Diane K.
Bellevue, WA
Read More
"Our crawl space was contaminated by a burst pipe. Premier's technician came out and diagnosed the problem. They worked with me to get the clean up done in time for our plumber to do the appropriate repairs. Our crawl space is very difficult to navigate; very low ceiling and lots of twists and turns. Their crew came out and did an outstanding job. They removed the waste, the water barrier and replaced it with a new one. During the whole process they left my home spotless! I was so impressed with their professionalism and the care with which they treated my home. I am highly recommending this service."
Previous
Next

Request A Call Back 24/7

Fill Out The Form Below

🔒 We will not sell your information or spam you. Privacy policy